
How to Photograph Wildlife: Beginner to Pro Guide (Tips, Gear & Settings)
The Real Challenges of Wildlife Photography
You’re crouched in the damp undergrowth at dawn, heart hammering. The mist curls around ancient cedars, and somewhere ahead, a branch snaps. Is that a bear I just heard? You’ve dreamed of capturing wild moments that stop people in their tracks but right now, all you feel is overwhelmed by blurry shots, missed opportunities and dark images.
Why Most Beginners Struggle
Wildlife doesn’t wait for you to take a picture and animals vanish in a heartbeat. You finally find your target but it’s 100 meters away and you don’t want to chase it and when you do finally get it up close your subject looks like a zebra with all the uneven light coming through the forest canopy. Even if you have an expensive camera it doesn’t mean you are going to get amazing photos.
Doubt creeps in. Am I patient enough? Skilled enough? Beginners freeze with too many settings. Intermediates get decent shots but lack emotion. Pros sometimes burn out chasing the next viral image while losing the joy that first pulled them into the wild!
My Wildlife Photography Journey
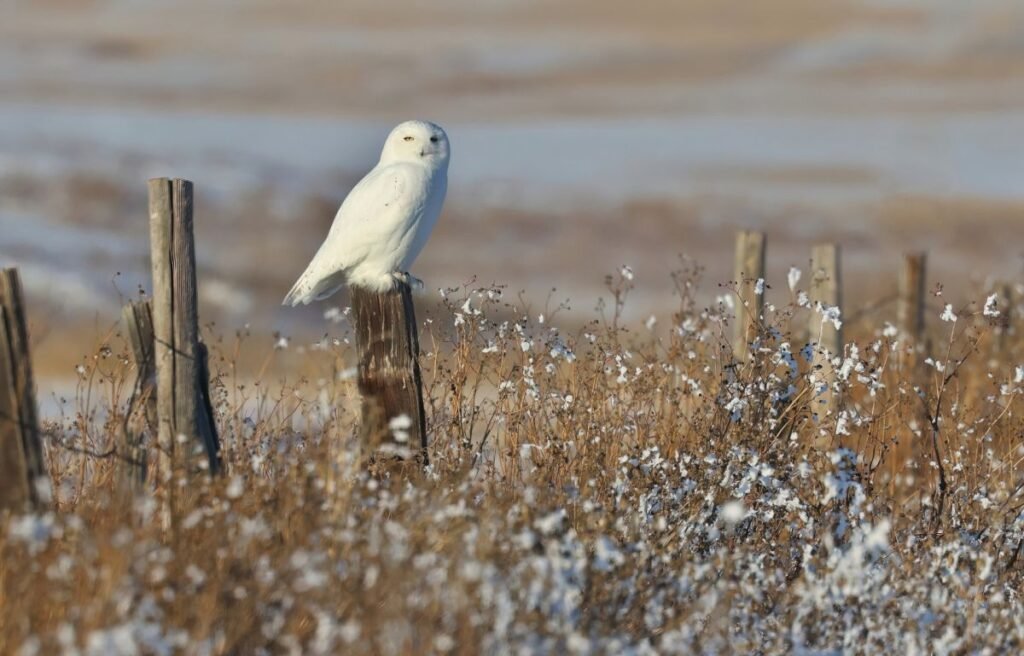
I’ve lived the same journey as a beginner and later advanced photographer. I started wildlife photography during the covid outbreak. It has been years since I used my older pro gear that I used as a wedding photographer. I had no idea where to go, what was possible to see and how challenging and demanding it would be to get excellent shots of things like owls flying at dusk. Over the years I have learned a few things that I will share with you to help you become an amazing photographer.
Stage 1: Beginner Wildlife Photography – Master the Foundations
Essential Gear for Beginners
Start simple. You don’t need pro gear yet. Gear that actually helps: A Mirrorless Camera with a lens that is at least 400mm in reach. A sturdy tripod or monopod. Weather-sealed bag. Extra batteries. That’s it. If you fall in love with wildlife photography I would not buy the gear new. I would buy used on Facebook marketplace or some other similar marketplace. You WILL want to upgrade your gear as you grow as a photographer.
Camera Settings for Beginners
Learn your camera’s “priority” modes: Aperture Priority (Av/A) for controlling depth of field. Start with f/5.6–f/8 for sharp subjects against soft backgrounds. Ideally you want to be in Manual mode. Personally, I keep my camera in manual mode 100% of the time and almost always keep my aperture at F2.8-F4 and adjust my shutter and iso accordingly. PRO TIP: When photographing relatively still subjects like owls roosting you can get away with fairly low shutter speeds on a tripod (think: 1/50th of a second or less). This is particularly handy if you want to reduce your iso (less noise) or you are using a lens that has high F stops such as 7.1 making low light photography challenging.
Best Practices for Your First Wildlife Shoots
- The golden rules: Get low (eye level with the animal). Use continuous autofocus (AI Servo/AF-C). Burst mode is your friend. Always prioritize shutter speed—nothing kills a shot faster than motion blur. PRO TIP: For fast moving wildlife such as birds I generally use a shutter speed of 1/2000 of a second minimum. With slower moving animals or birds you can get away with 1/1600 of a second or so.
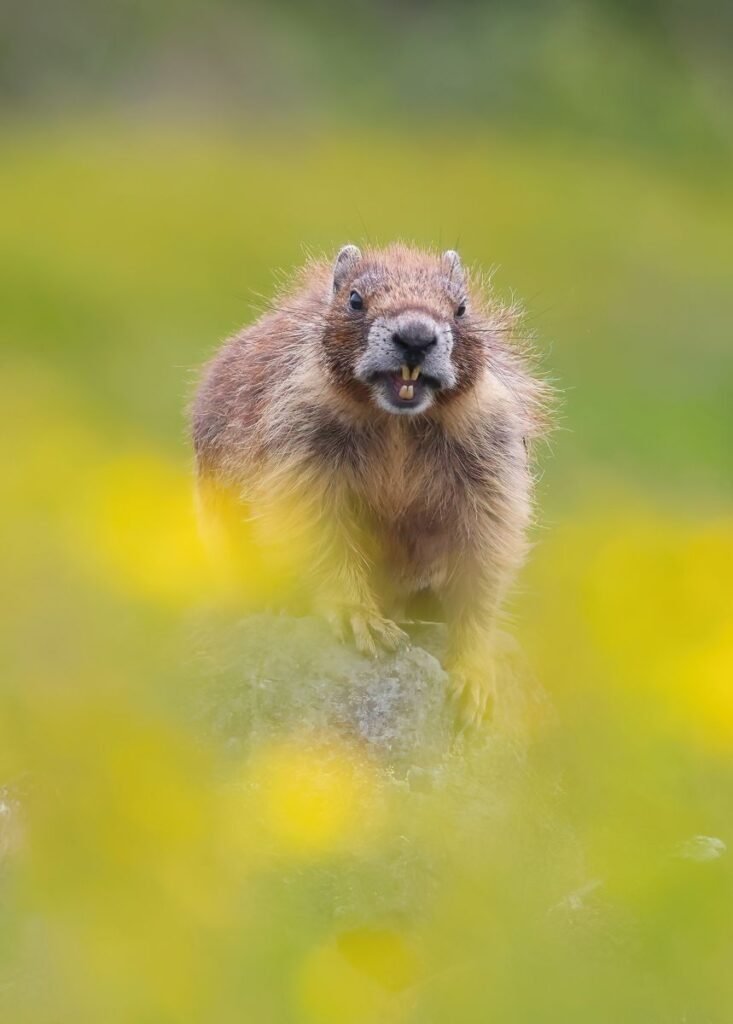
- Start early in the morning: Visit local parks or wildlife refuges at dawn. Wildlife is most active right at sunrise. Practice on birds at feeders or squirrels. Focus on behavior, not just portraits. Start to observe and research about the subject you are trying to photograph. What is its geographical range? What type of food does it eat? When does it have offspring? Where does it nest? What type of habitat does it like? These are all questions you should get answers for.
Stage 2: Intermediate – Think Like a Hunter
Researching and Understanding Your Subject
Study your subject. Know when elk rut, when owls hunt, how bears fish. Apps like Merlin Bird ID or books on local ecology become your secret weapons. In 2026 even AI apps such as CHAT GPT can help you learn about wildlife. PRO TIP: Apps such as E-BIRD are handy in finding out what type of birds are hanging out in your area.
Mastering Light and Composition
Light is everything. Golden hour (first/last light) and overcast days are magic. Harsh midday sun is your enemy. Composition: Tell a story— a heron spearing a fish beats a static portrait every time. Find your style. Not all photos have to be tight shots of a bird. Sometimes photographing wildlife within the surrounding environment (environmental wildlife photography) can result in amazing images.
Wildlife Photography Ethics
Ethics first: Never bait, stress, or approach too closely. The best photographers leave no trace and put animal welfare above the shot.
Stage 3: Pro Level – Create Emotional, Story-Driven Images
Advanced Gear Recommendations
Master exposure triangle intuition so you can adjust in seconds. Invest in quality glass: Fast telephoto primes (like 400mm f/2.8 or 600mm f/4) if serious, but many pros still use versatile zooms.
Predicting Behavior and Field Techniques
Predict behavior. Sit in one spot for hours. Use camouflage blinds or natural hides.
Post-Processing Tips (Without Overdoing It)
Post-processing: Enhance mood without creating fantasy. Tools like Lightroom help, but the real magic happens in the field. The real art is in your creativity in how you took the photo not how you completely altered it in post processing. Enhancement tools such as TOPAZ where you can sharpen images are handy but pay particular attention to the outcome as sometimes these programs produce results that actually look worse than the original image.
Pro Tips for Wildlife Photographers at Any Level
Patience, Weather, and Preparation
- Weather apps and tide charts are non-negotiable.
- Patience beats gear. The best shot often comes after everyone else leaves. I have had this happen many times. In today’s fast-paced digital world everyone wants results instantly. It doesn’t work that way in nature. If time permits, stay till the bitter end when there is hardly any light left.
- Have backups of batteries and memory cards and if your budget permits even a spare camera body. Also back up all your work on external hard drives!
- Join communities: Local camera clubs, wildlife photography forums, or workshops with respected guides.
Building Your Skills Through Practice
Stop waiting for perfect conditions or perfect gear. Instead, grab your camera and go to a local park at sunrise. Pick one species. Shoot 200 frames. Review what worked. Repeat. Thats the only way you will learn. Take 10s of thousands of photos.
The transformation is real. With continuous practice you’ll move from frustration to flow. You didn’t become a wildlife photographer by accident. You became one by showing up, learning the path, and refusing to let fear or blurry frames win!
The wild is calling. What will your first legendary image be?
My Camera Gear for Wildlife Photography
Interested in knowing what camera gear I use? Check out my gear list HERE